How to Remove Honeycomb Blinds Without Damaging Them (Low Maintenance Tips)
TLDR;
You can remove honeycomb blinds without damaging them by first identifying the type of mount, raising the
blinds completely, and gently releasing the headrail from the brackets. Using the right tools and following a step-by-step approach helps prevent damage to the fabric, brackets, or window frame.
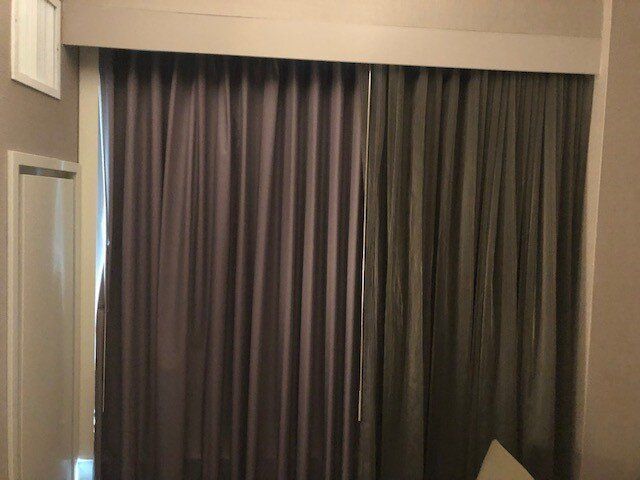
What Are Honeycomb Blinds? Why You Need to Be Extra Careful
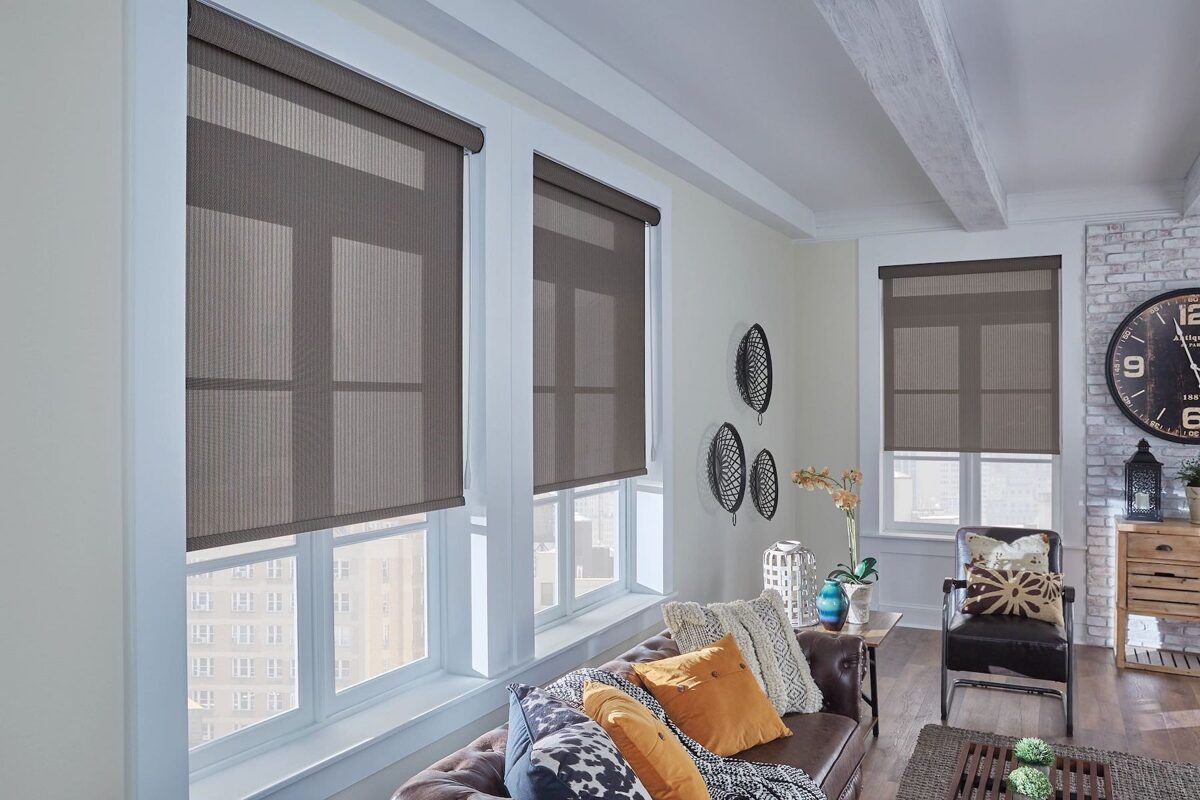
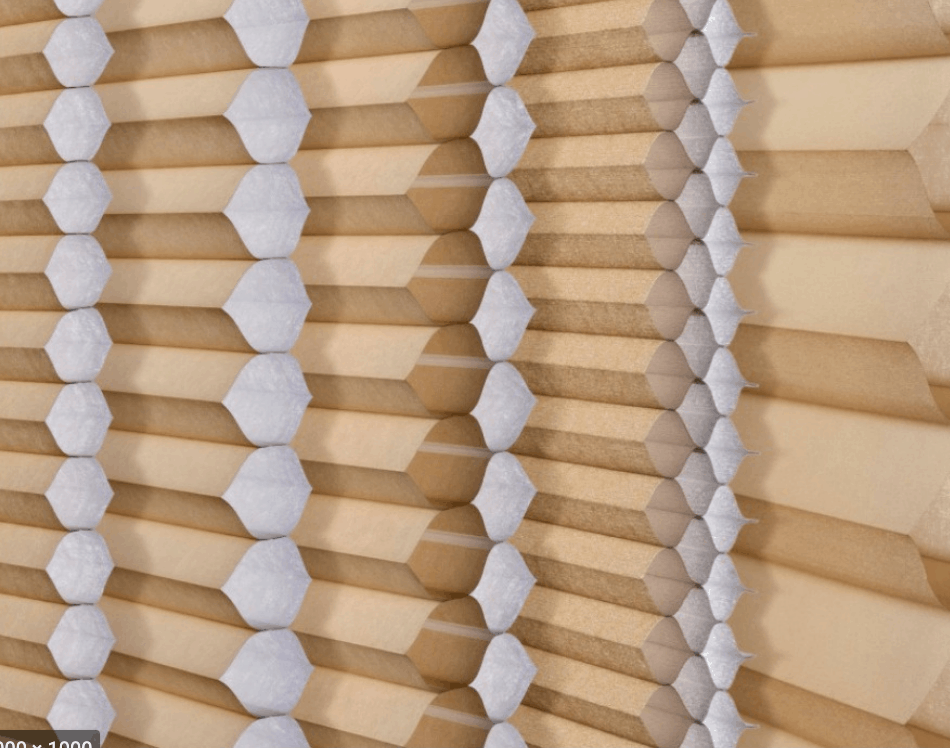
Honeycomb blinds, also known as cellular shades, are popular for their energy efficiency and clean look. If you’re comparing cotton or honeycomb fabric for window treatments, it’s important to note that honeycomb designs offer superior insulation but require extra care when removing due to their delicate structure.
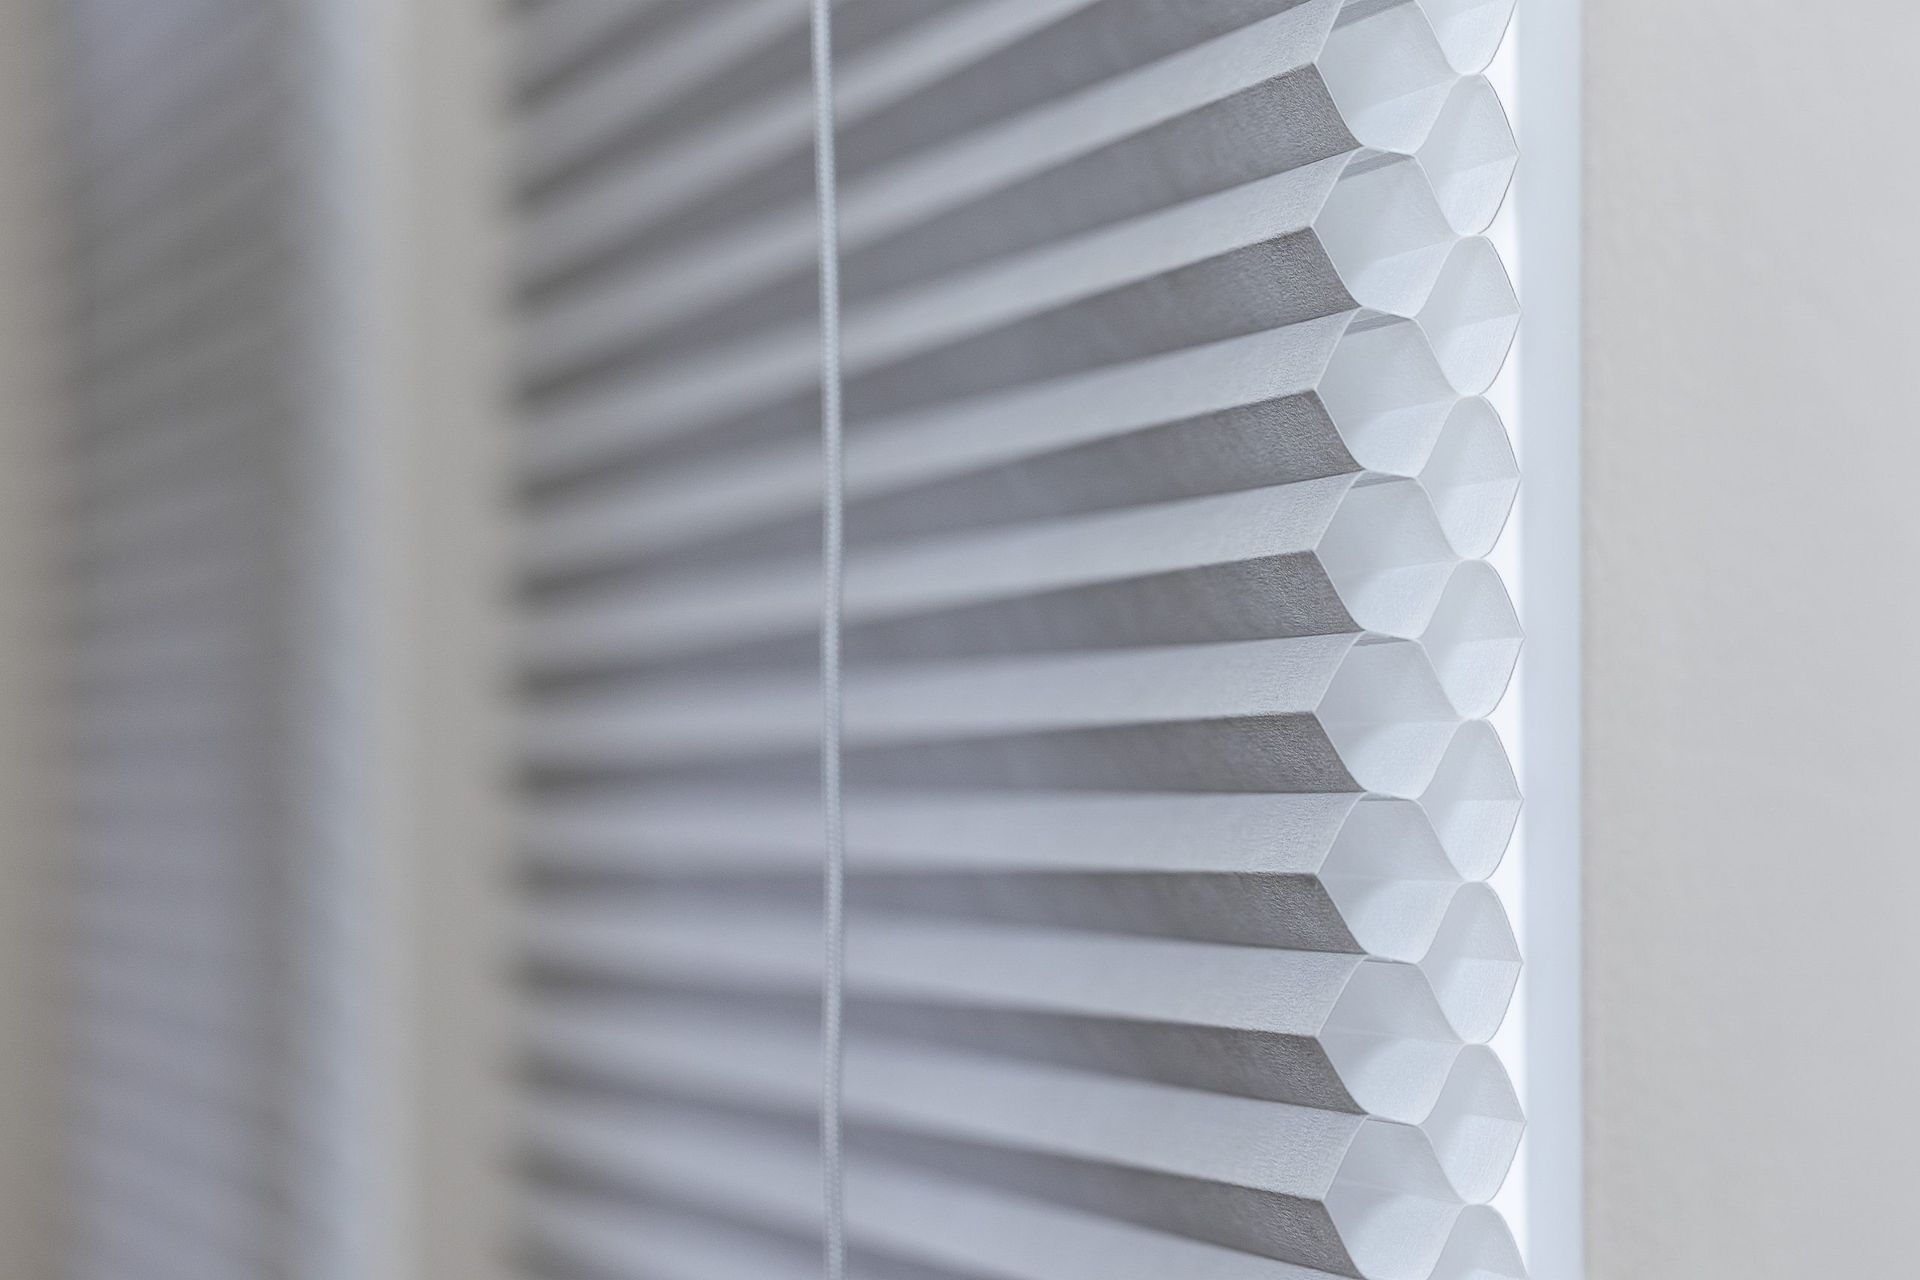
- Made of soft, collapsible fabric with a honeycomb-like structure
- Designed to trap air, providing insulation and helping control room temperature
- Available in various styles: cordless, top-down bottom-up, and motorized
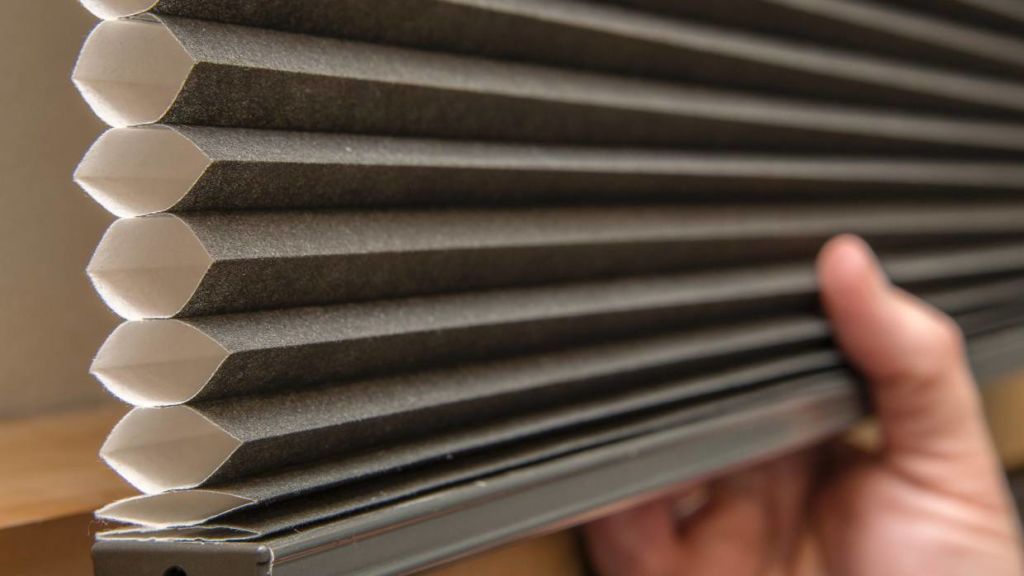
- Fragile fabric that can crease or tear with too much pressure
Why they’re delicate:
- The internal cells can collapse permanently if crushed
- Headrails are usually lightweight aluminum or plastic—not meant to be forced
- Some styles hide their mounting clips, making removal trickier
Tools You’ll Need to Remove Honeycomb Shades Without Causing Damage
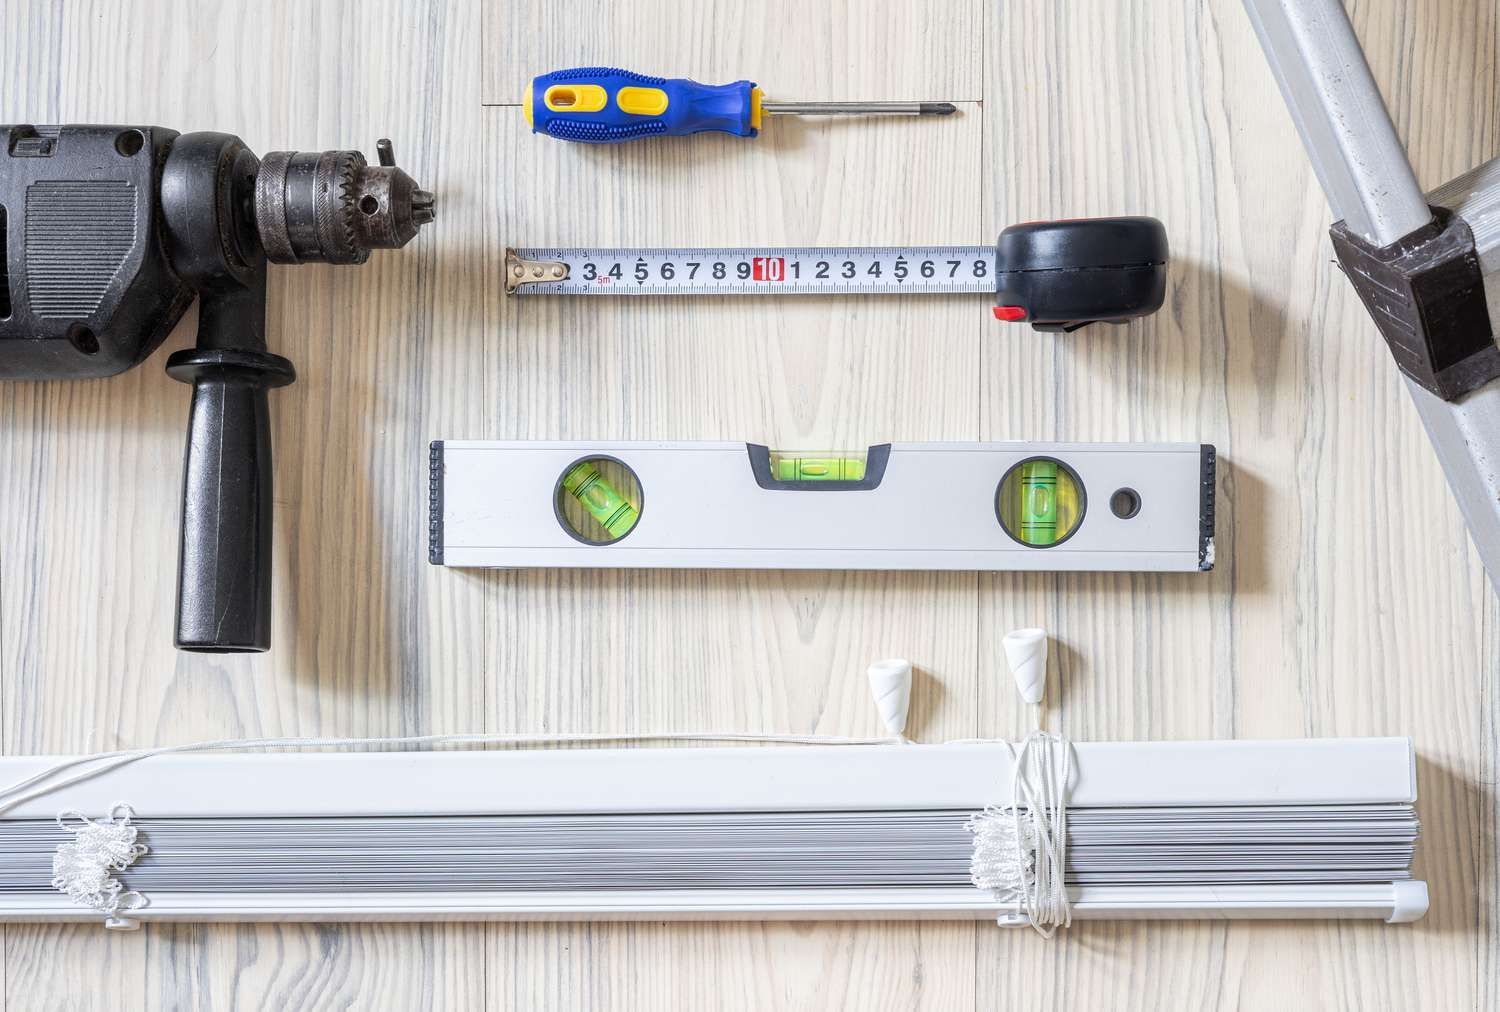
Before you start, gather everything you need to avoid last-minute scrambling. Here’s a checklist of tools and gear for damage-free removal:
- Flathead screwdriver
- Cordless drill (if brackets need unscrewing)
- Step ladder or sturdy step stool
- Microfiber cloth (for cleaning as you go)
- Zip bag or small storage box (for screws and clips)
- Safety gloves (optional but good for grip and protection)
- Flashlight (for spotting hidden clips)
- Painter’s tape (to mark bracket locations if reinstallation is planned)
These tools help you remove the blinds smoothly and safely, especially if you're dealing with hidden clips or spring-loaded brackets.
Step 1 – Identify Your Blind Mounting Type
Before touching anything, figure out how your honeycomb blinds are mounted. This determines your removal method.
Inside Mount Cellular Shades
- Installed inside the window frame
- Brackets are typically located at the top or sides inside the frame
- Common in minimalist, modern interiors
How to tell:
- Blinds sit flush with the wall or trim
- Headrail appears “sunken” into the window frame
Outside Mount Honeycomb Blinds
- Mounted on the wall above the window or on the window trim
- Brackets are more visible and easier to access
How to tell:
- Headrail extends beyond the window frame
- Usually used to cover uneven or deep-set windows
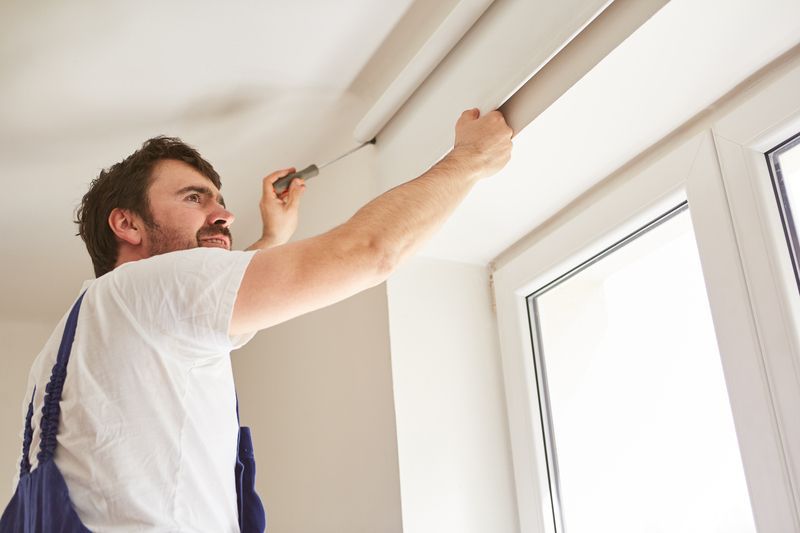
Step-by-Step Guide to Removing Honeycomb Blinds Safely

Whether you’re removing blinds for cleaning, moving, or replacing them, follow these clear steps for a hassle-free process.
For Cordless Honeycomb Shades
Quick Steps:
- Raise the blinds fully
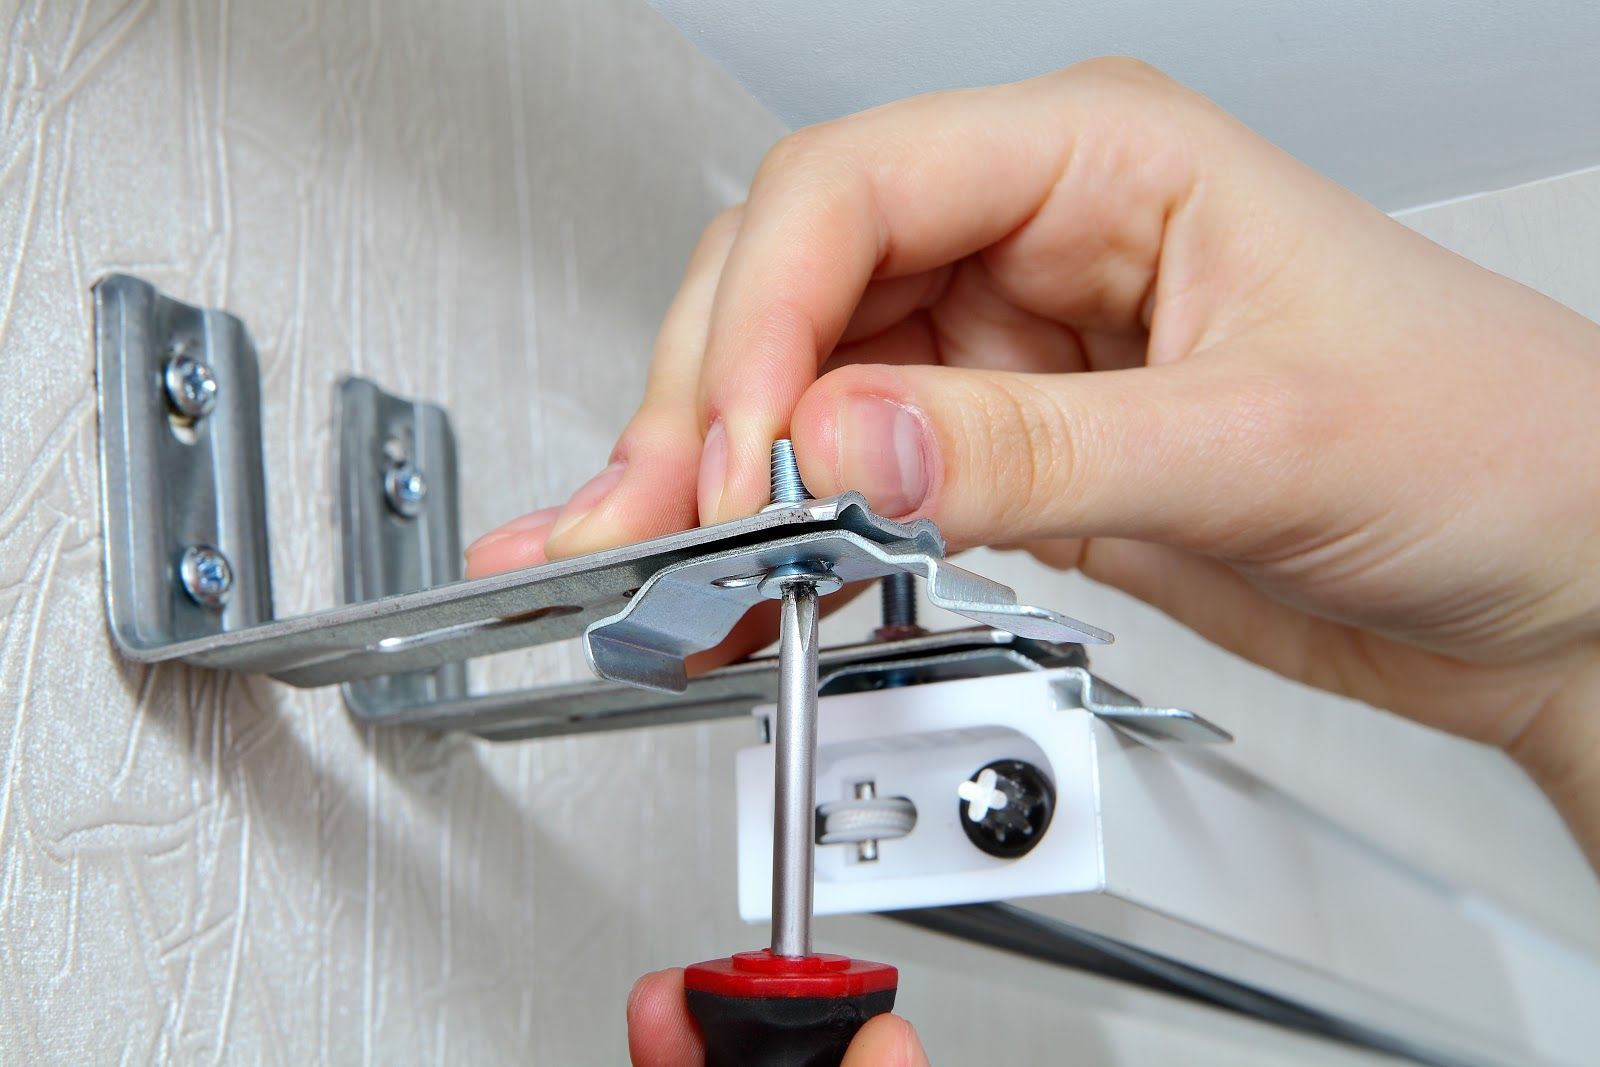
- Locate the mounting brackets
- Push the headrail back towards the window
- Tilt it down and pull out gently
Detailed Instructions:
- Make sure the blind is fully raised and locked.
- Use your thumbs to push the headrail toward the window.
- Once loose, tilt the back of the headrail down toward you.
- Pull forward gently until the blind is free from the brackets.
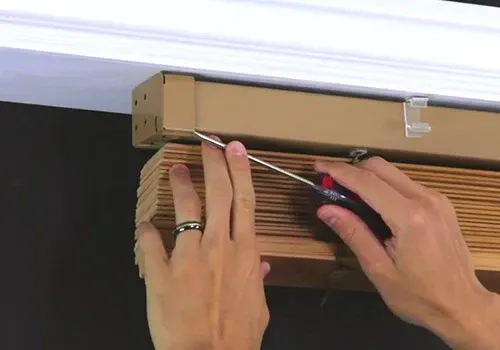
- If needed, use a flathead screwdriver to depress any spring clips gently.
For Top-Down Bottom-Up Blinds
Quick Steps:
- Lower both rails slightly
- Identify multiple brackets (top and bottom)
- Unclip one rail at a time
Detailed Instructions:
- Unlock both top and bottom cords.
- Carefully lower each section just enough to access the brackets.
- Release the top rail first using the same push-and-tilt technique.
- Then repeat for the bottom rail if mounted separately.
- Handle fabric with care to prevent creasing or folding.
For Motorized Blinds
Quick Steps:
- Disconnect power source
- Use manual release if available
- Follow standard removal steps
Detailed Instructions:
- Turn off the power or remove batteries.
- Look for a manual release button or clip.
- If none, follow the standard push-and-tilt method to remove the headrail.
- Be cautious of internal wiring if you're removing a powered unit.
What Not to Do When Removing Honeycomb Blinds
Mistakes during removal can ruin your blinds. Here's what to avoid:
- Don’t tug or yank: This can damage the headrail or bracket.
- Avoid forcing the brackets: Most brackets are spring-loaded—forcing them may break the clip or bend the rail.
- Never use sharp objects directly on fabric: You risk puncturing or fraying the shade.
- Don’t skip identifying the mounting type: Using the wrong method for the wrong setup leads to breakage.
- Don’t skip proper support: Blinds can bend if only held from one side during removal.
Troubleshooting: When Your Blinds Won’t Come Off
Sometimes, blinds seem stuck. Here’s how to handle those stubborn setups:
- Stuck mounting clips?
Push the headrail firmly toward the window to release spring tension. Wiggle slightly while tilting downward. - Headrail won’t budge?
Check for hidden screws or locking tabs. Use a flashlight and feel along the top of the rail. - Blinds won’t unclip?
Use a flathead screwdriver to gently lift the release tab. Be slow and gentle—never pry aggressively. - Jam in the cord mechanism?
Lower the blinds slightly and try again. Internal tension can lock the system in place.
How to Maintain Honeycomb Blinds After Removal
If you plan to reinstall later or store the blinds, proper maintenance is key.
- Clean before storing
Use a vacuum with a brush attachment or a microfiber cloth. Avoid soaking the fabric. - Fold properly
Compress the cells as they’re designed to fold. Don’t crease or twist the blinds. - Use breathable storage
Avoid plastic bags. Use fabric bags or boxes with ventilation to prevent moisture buildup. - Label hardware
Store all screws and clips in a labeled zip bag taped to the blind. - Store flat or upright
Avoid placing heavy objects on top of the blinds. Lay flat or stand vertically in a corner.
Bonus: How to Reinstall Honeycomb Blinds (or Upgrade to Modern Options)
Once you're ready to reinstall or upgrade, here's what to know:
Reinstalling
- Align the headrail with the brackets
- Push up and back until it clicks into place
- Test by gently pulling the blind down
Considering an Upgrade?
- Cordless: Safer for kids and pets, cleaner look
- Motorized: Smart home integration, remote control options
- Light-filtering vs blackout: Match your privacy and lighting needs
Love Is Blinds MI offers a wide range of honeycomb and alternative
window treatments that balance function and style. Whether you’re reinstalling your current blinds or ready for an upgrade, we can help.
Expert Tips from Love Is Blinds MI
At Love Is Blinds MI, we’ve helped thousands of homeowners and businesses safely install and remove all types of blinds—including tricky honeycomb shades. Here are some pro insights from our team:
- Take pictures before removal: Especially helpful for reinstalling brackets later
- Use painter’s tape: Mark where brackets were if you plan to reinstall
- Plan removal during daylight: Better visibility reduces chances of mistakes
- Always raise blinds fully: Keeping them raised reduces tension on the system
- Inspect your blinds: Look for wear or hidden damage before storing or reinstalling
We specialize in simplifying window treatment solutions across Michigan and beyond. If you're unsure or prefer a professional touch, don’t hesitate to contact us.